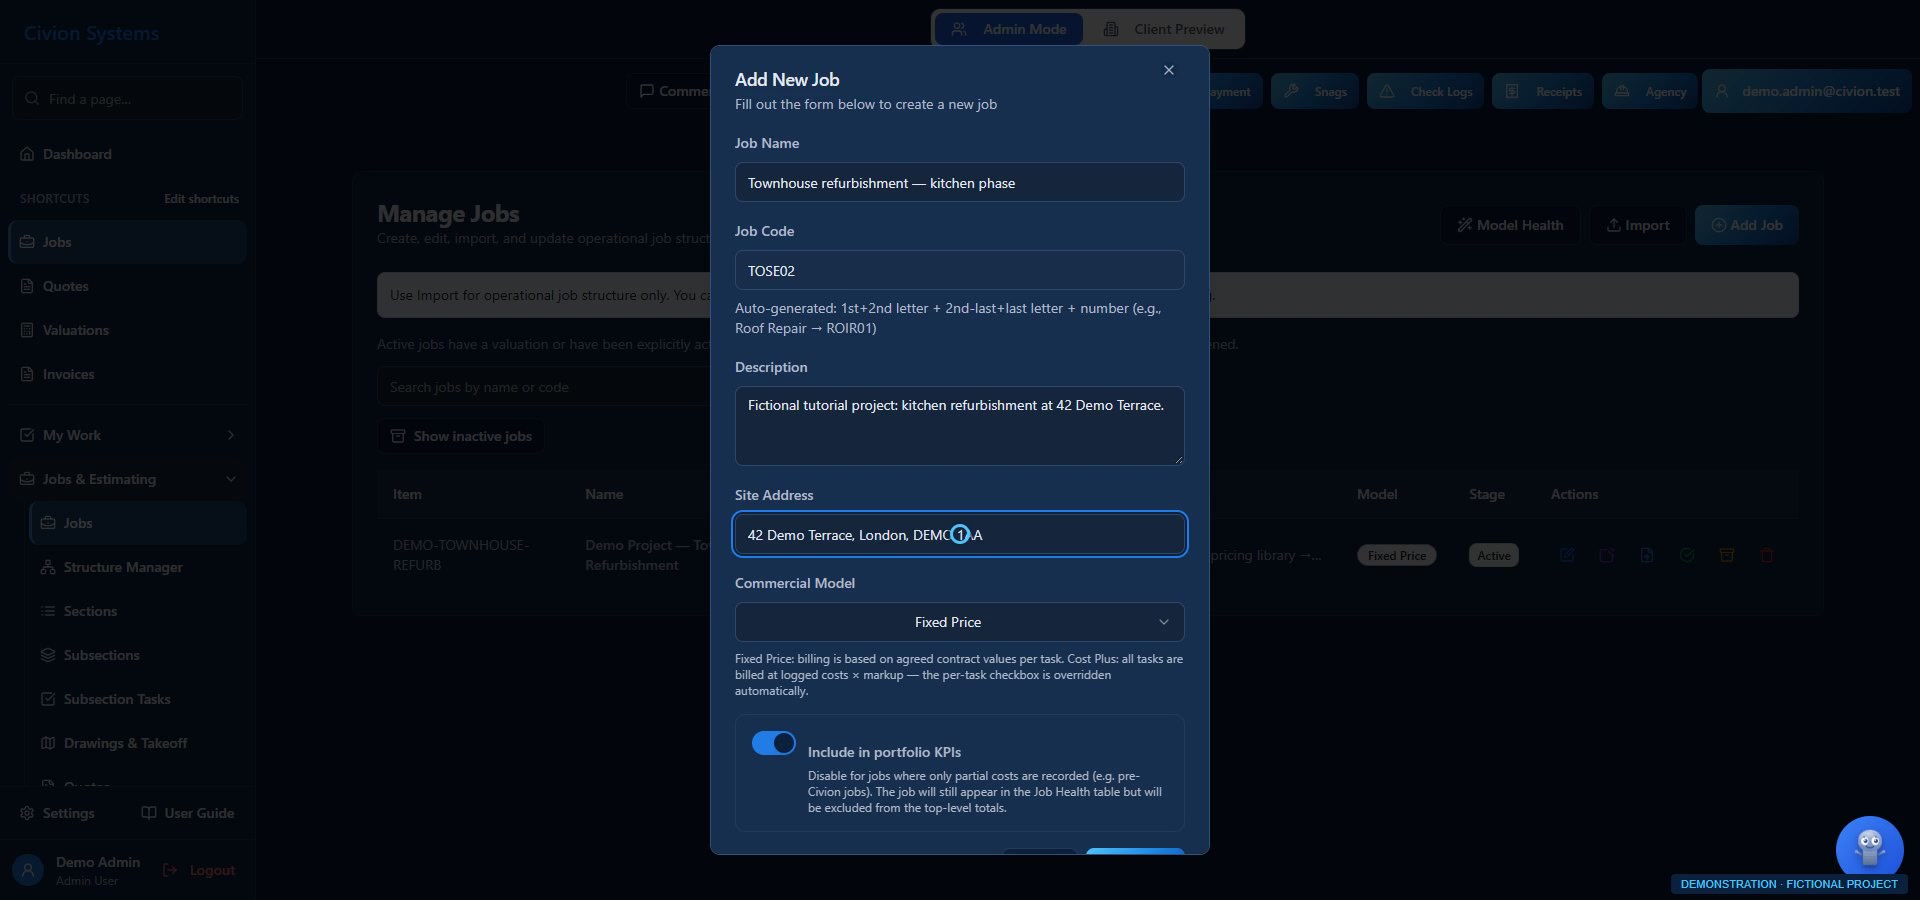
Walk through a fictional townhouse refurbishment. At each stage, see the action, the saved result and the detail that moves forward.
STAGE 01 / 06
Create the job. Prepare the price.
Connect the client, organise the scope and build quote items from your library or custom resources. Our fictional example is a townhouse refurbishment.
Check before moving onA 6 m × 4 m kitchen is 24 m² before deductions or allowances. At an illustrative £45/m² cost and 20% markup, the price is £1,296 before VAT.
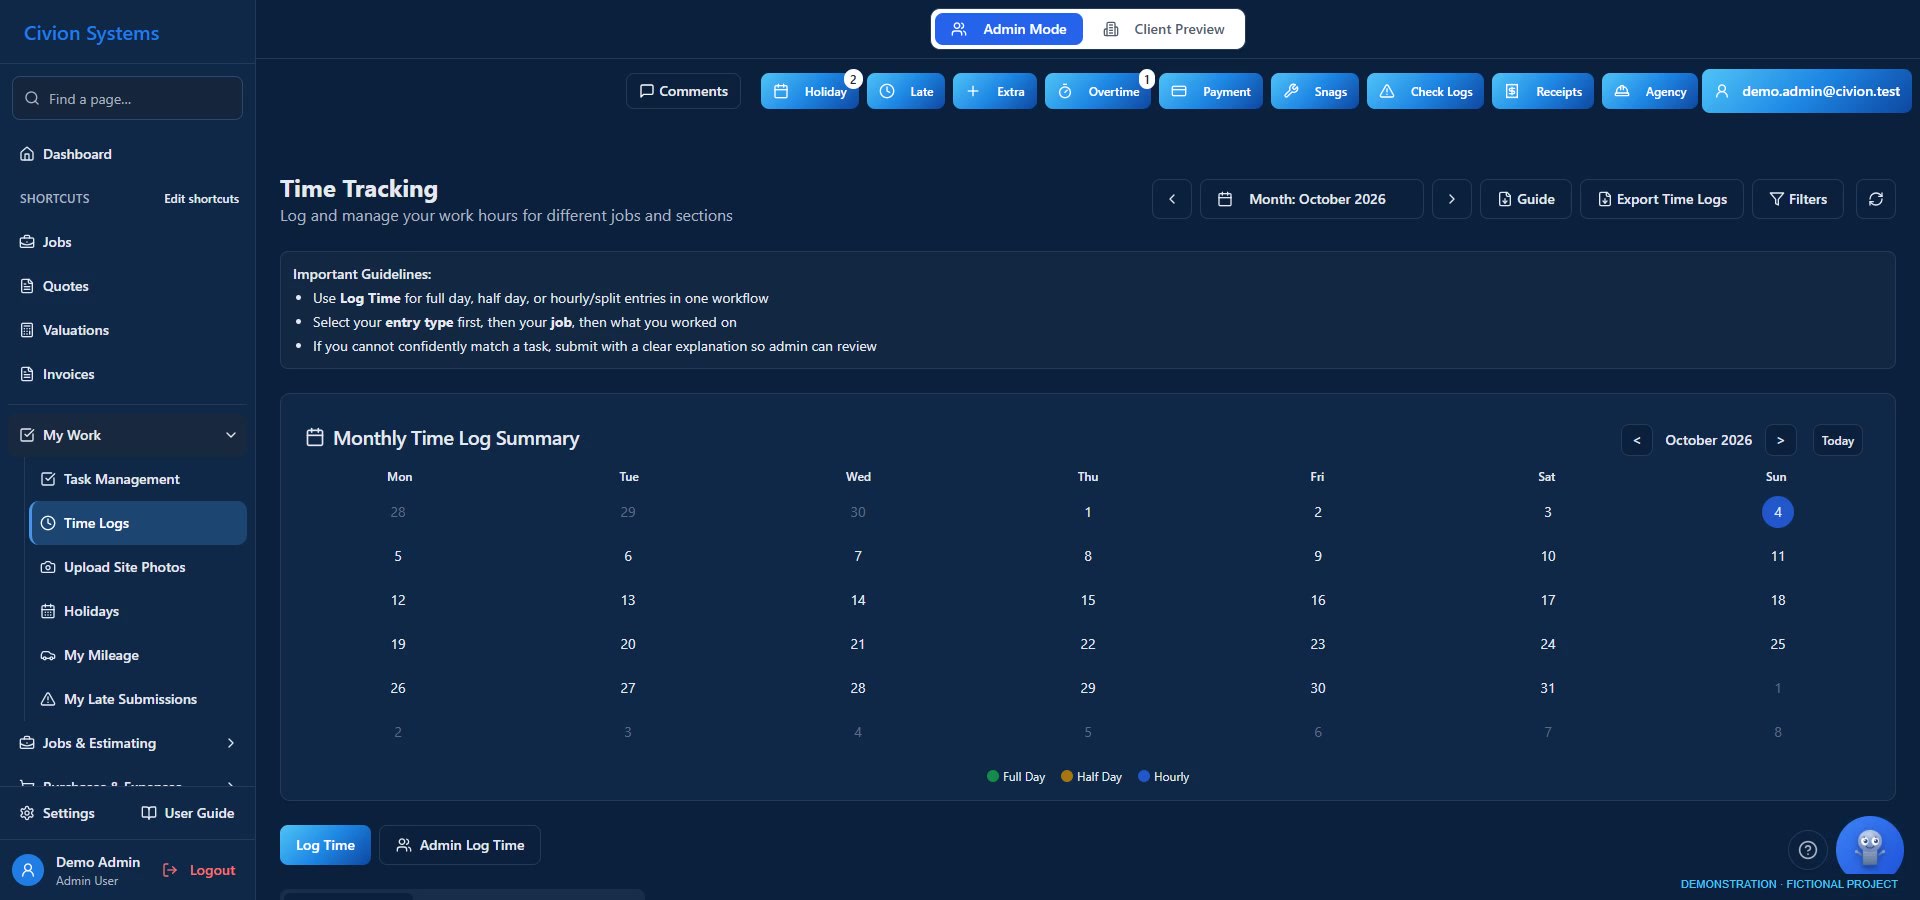
Assign site tasks. Employees submit reported time and progress photographs; authorised staff review and approve entries. Shared progress helps keep the client involved.
Action
Assign tasks; review submitted hours and photographs.
Result
A clearer record of progress and reported labour.
Carries forward
Bring reviewed labour and purchases into job costs.
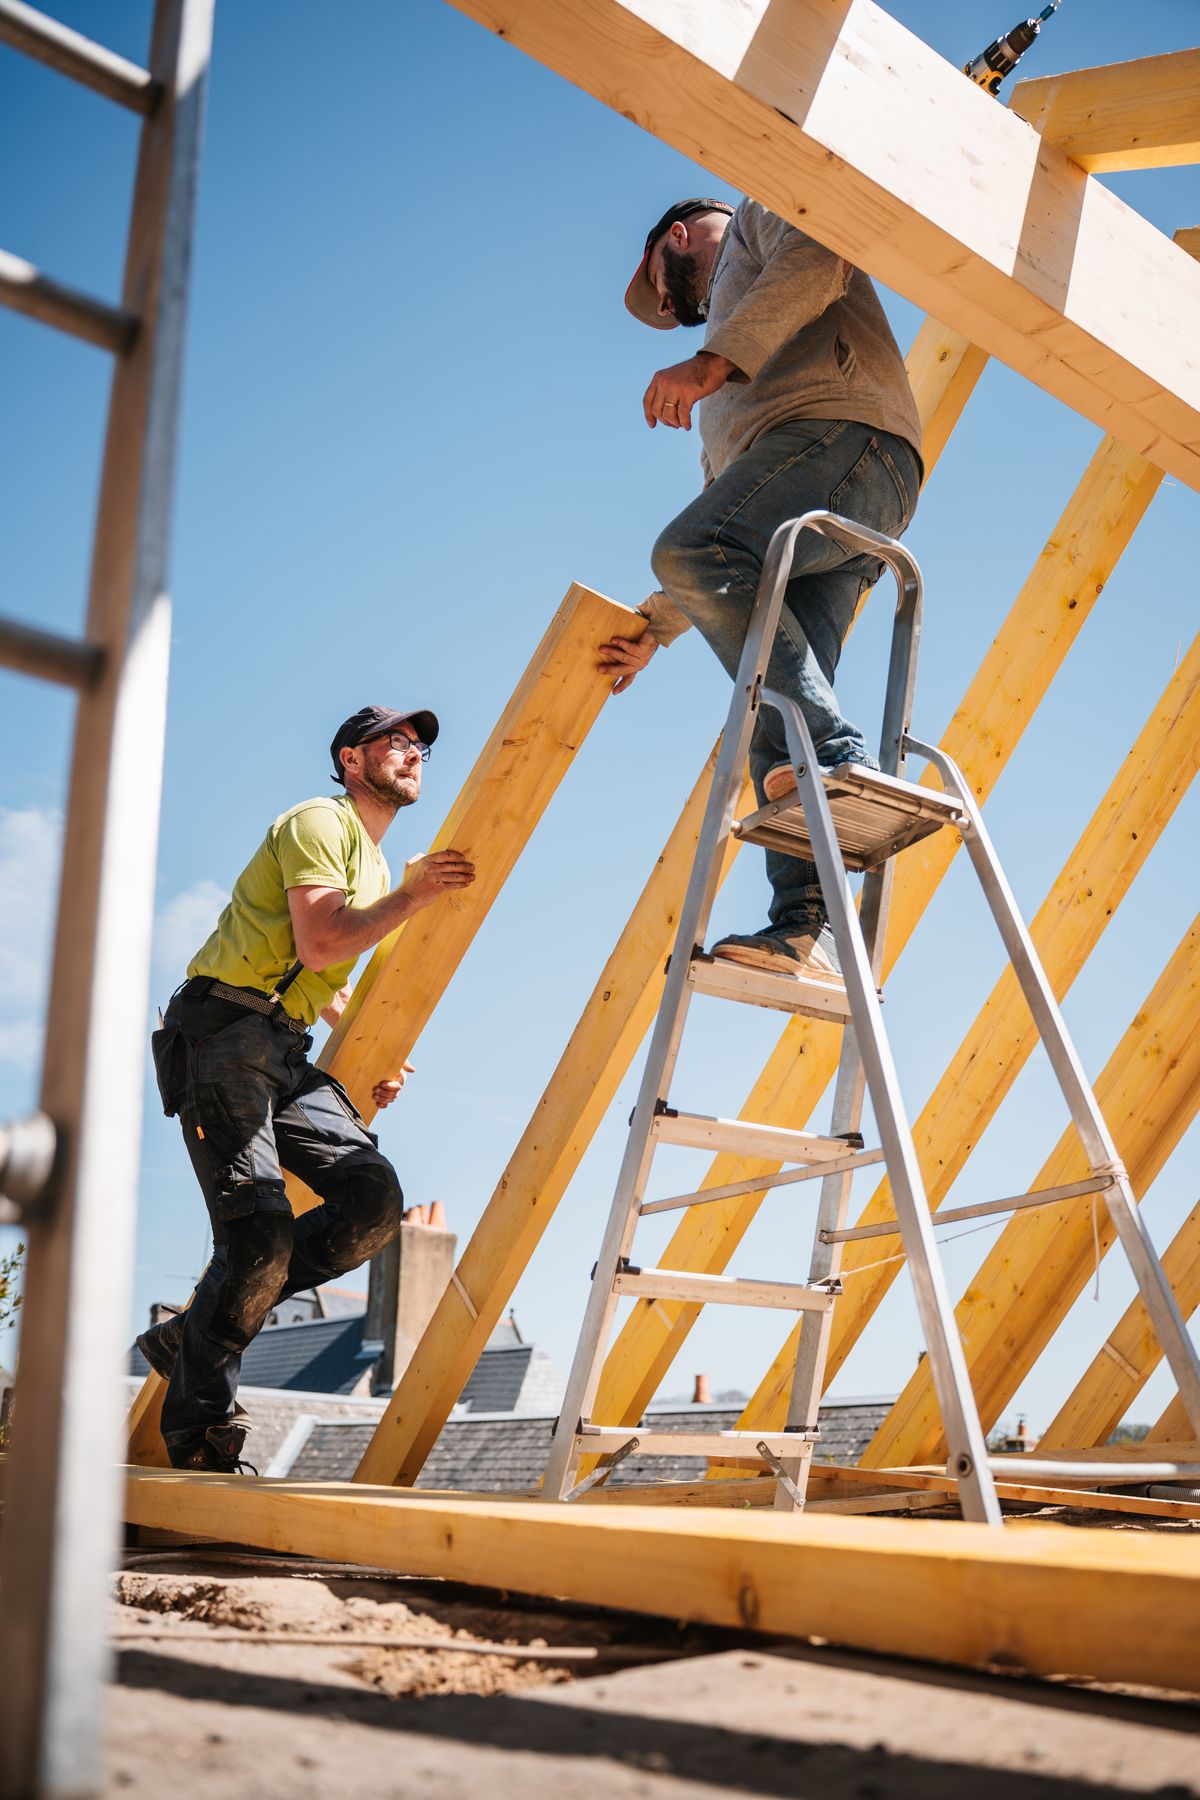
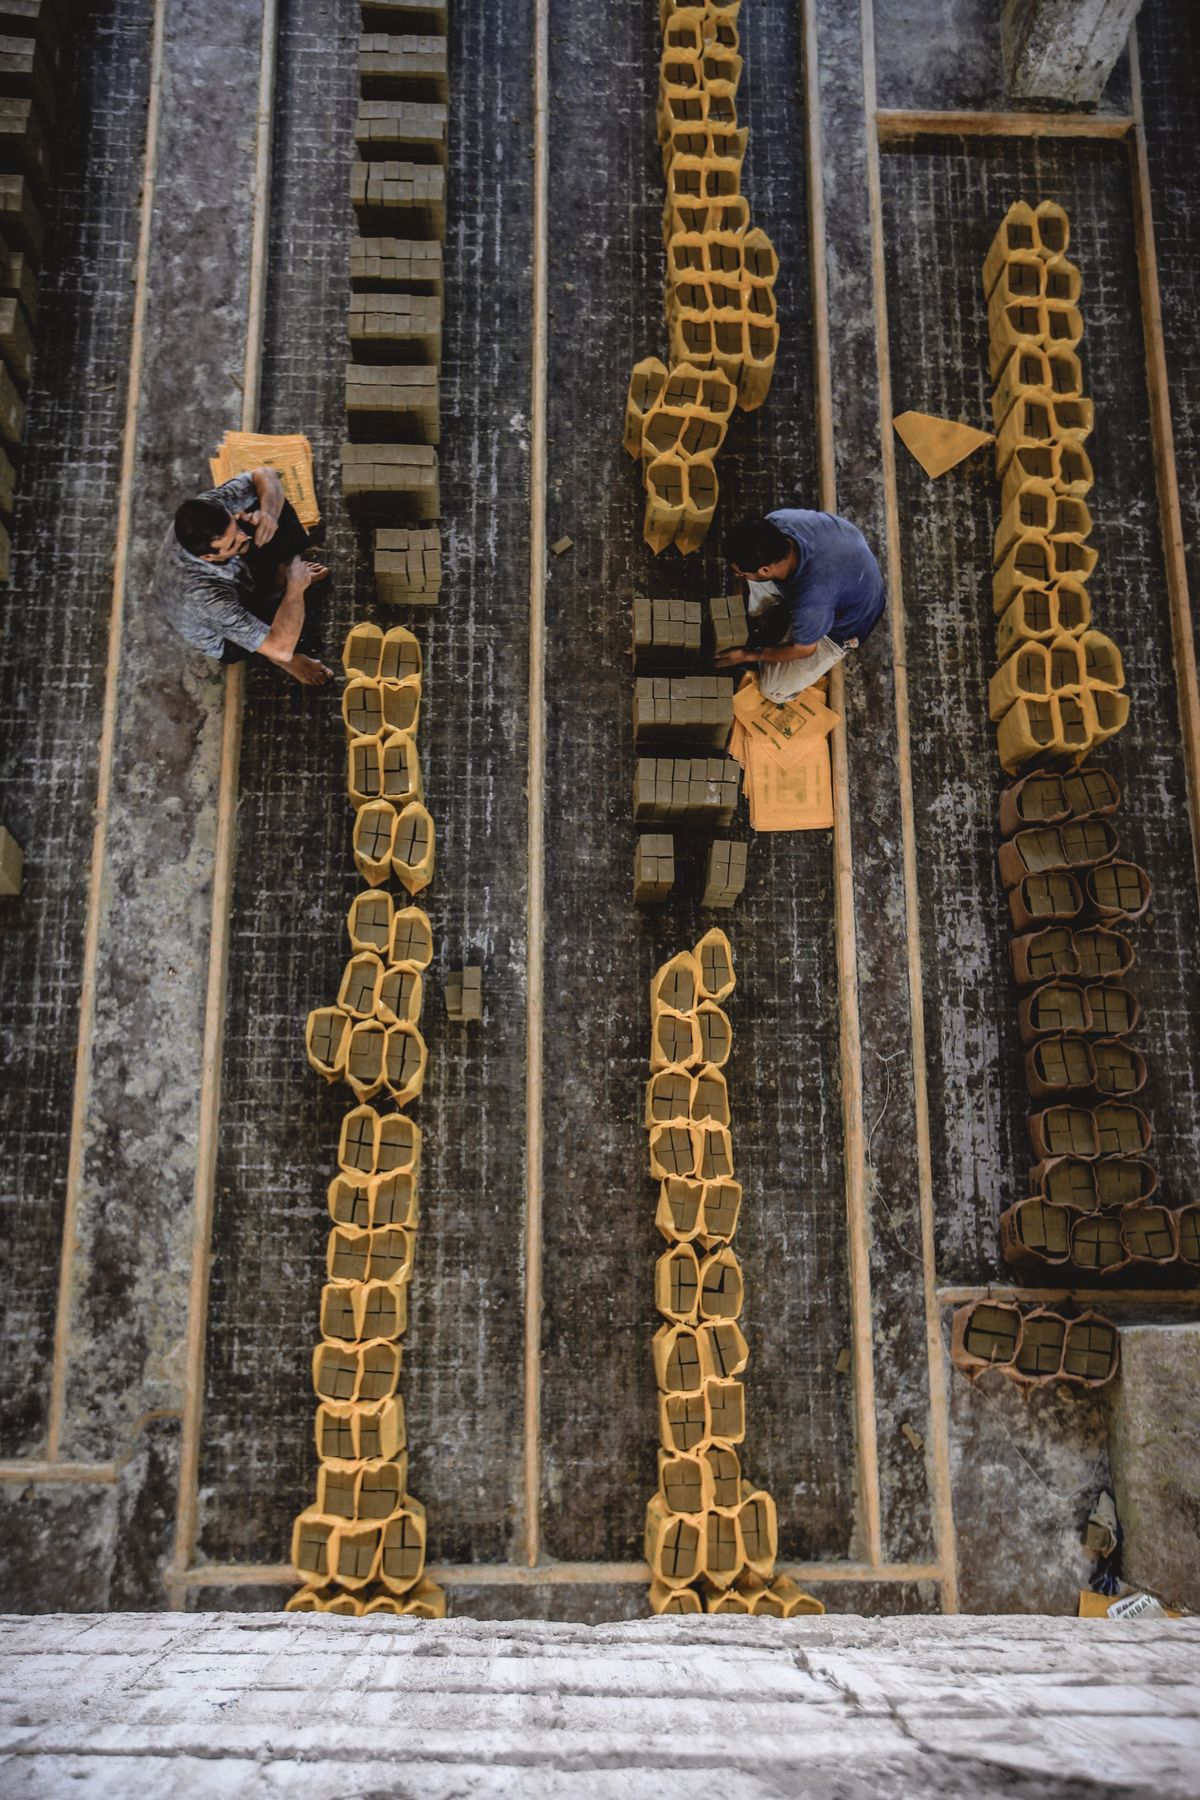
Illustrative photography. These are not Atlas projects or the fictional demonstration job.
STAGE 04 / 06
Record costs. Agree changes.
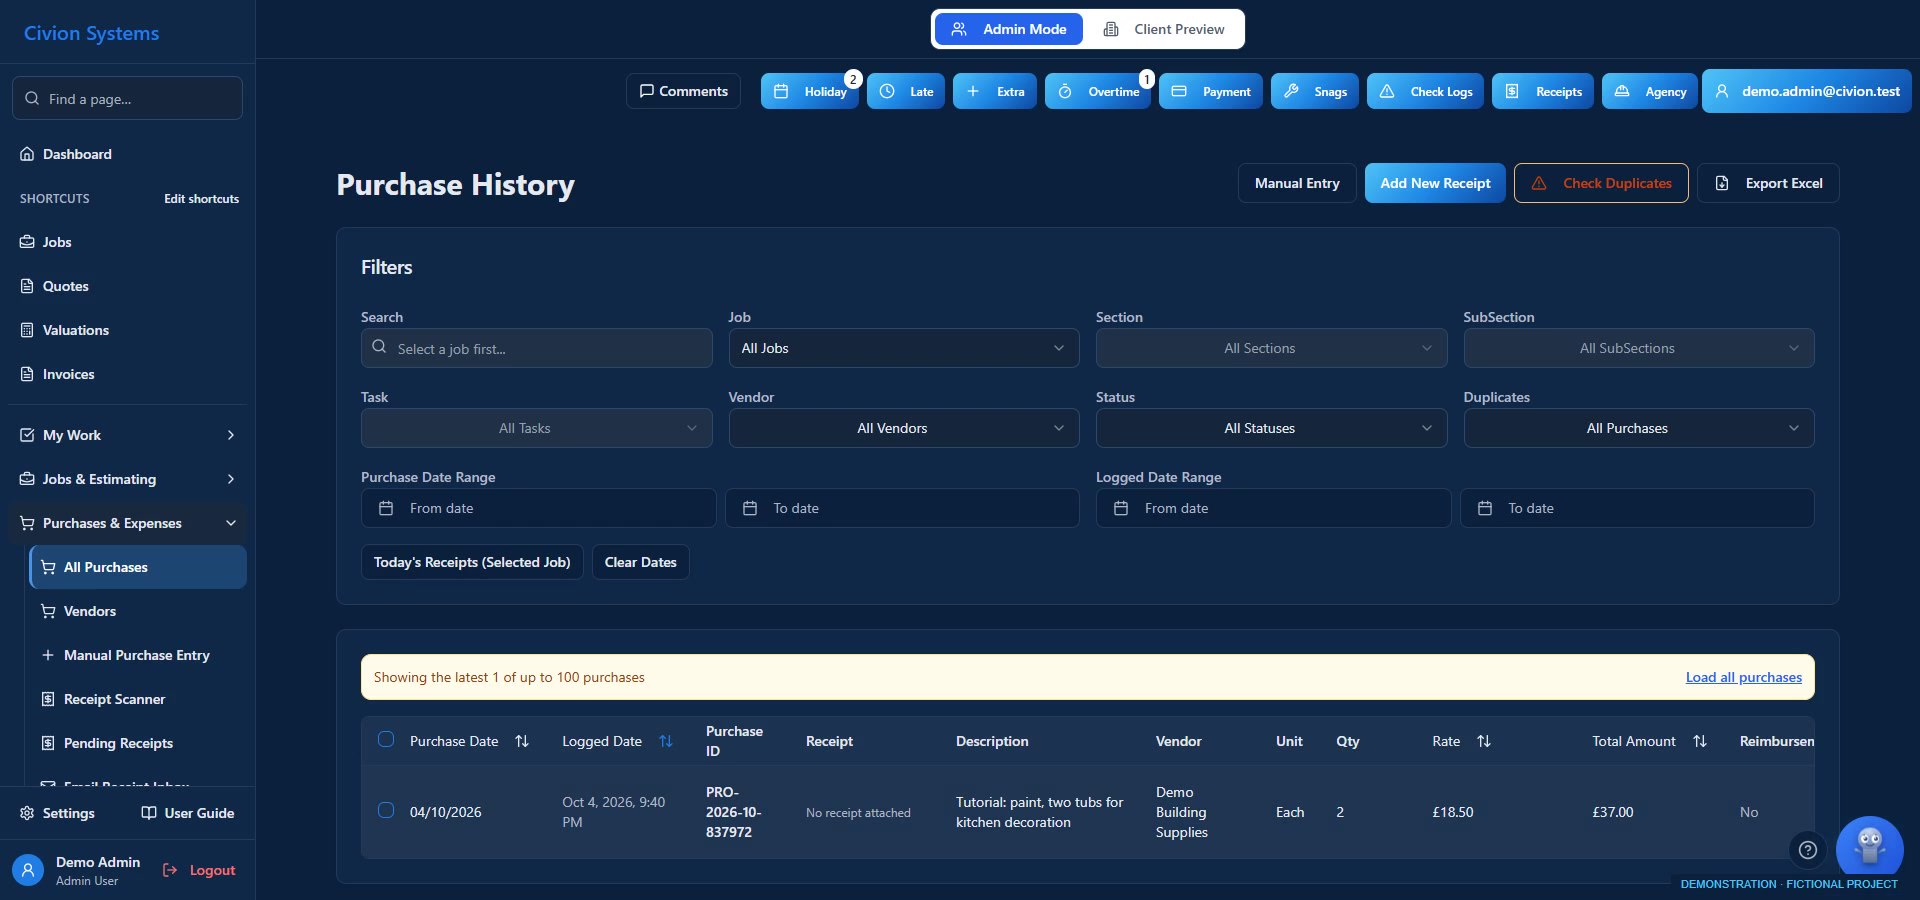
Allocate purchases to the job and review labour costs. If the client changes a finish or adds work, price the extra and record the approval before it enters the commercial workflow.
Action
Review costs and record approval of priced extras.
Result
Job records that distinguish proposed and agreed work.
Check before moving onProposed extras and approved change orders are different records. Approval supports the agreement; it does not guarantee payment.
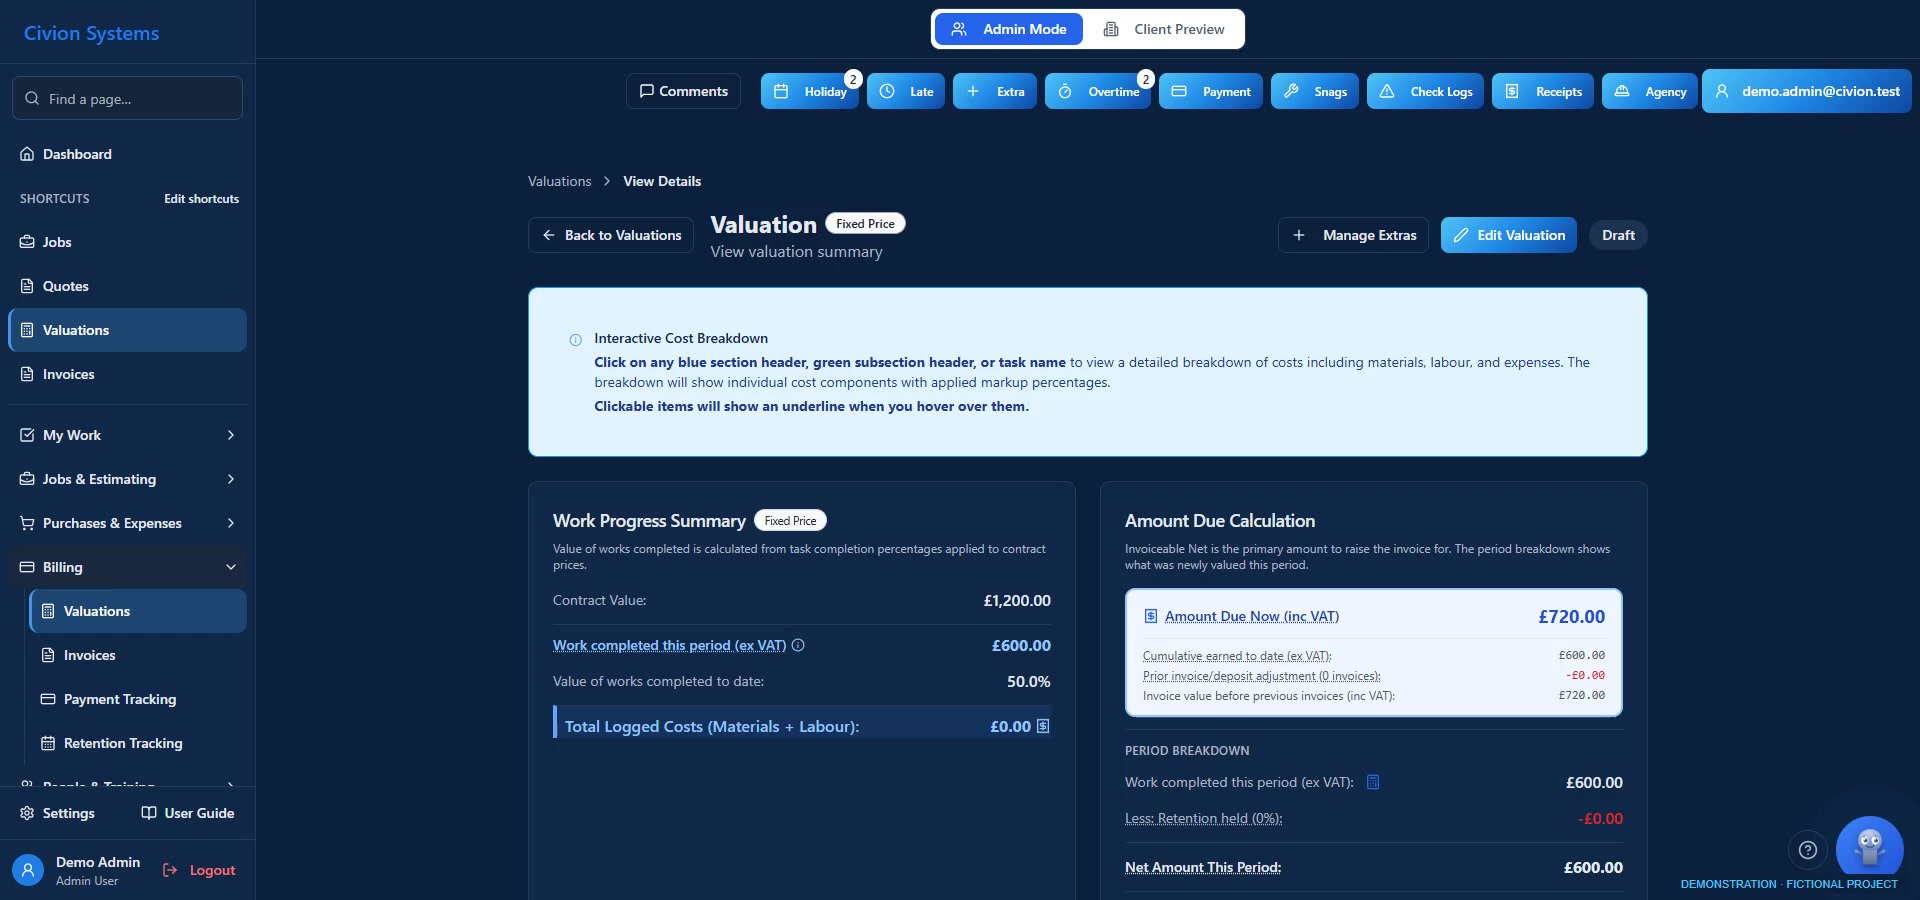
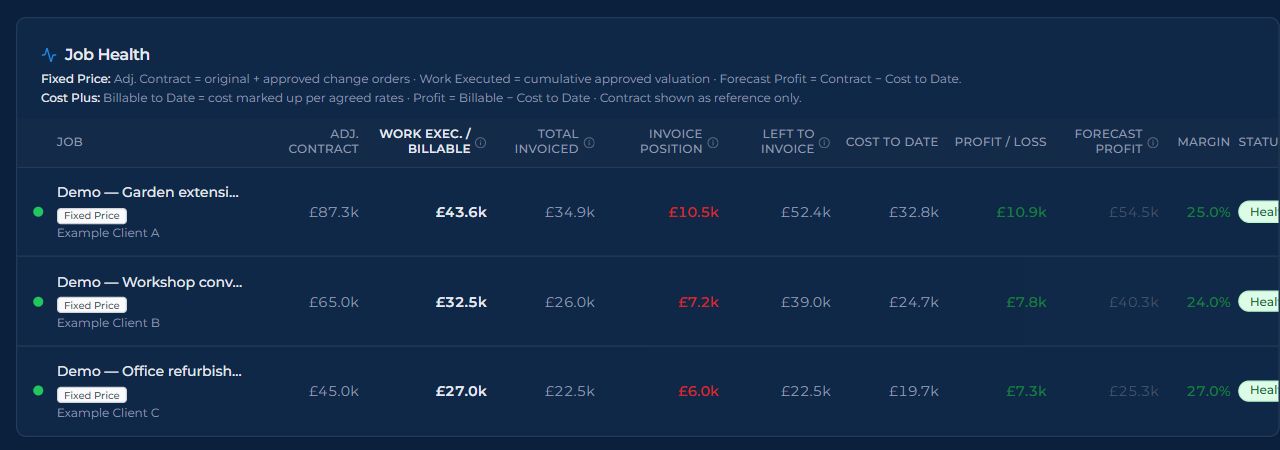
For fixed-price work, review progress valuations. For cost-plus work, review the relevant logged-cost recovery. Create invoices from supported workflows and follow payments.
Action
Review valuations and create the supported invoices.
Result
A record of work valued, invoiced and outstanding.
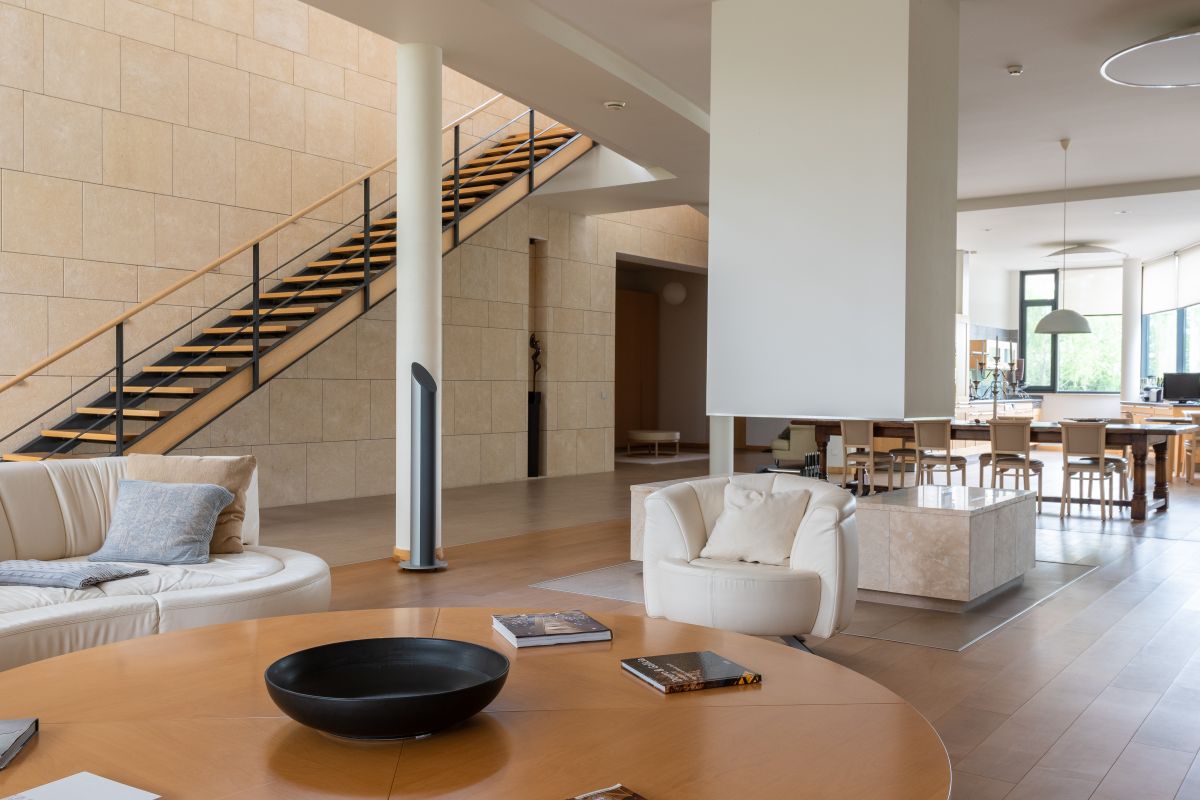
Illustrative photography. These are not Atlas projects or the fictional demonstration job.
STAGE 06 / 06
Review the outcome. Close the loop.
Review the job’s recorded costs and commercial values alongside invoicing and payment. Share appropriate handover records and assign reported snags to the team.
Action
Review costs, value and payment; organise handover.
Result
A clearer job outcome and a shared close-out record.
Check before moving onEstimated cost, actual recorded cost, valued work, invoices and cash received are distinct measures. The financial picture depends on the records entered.
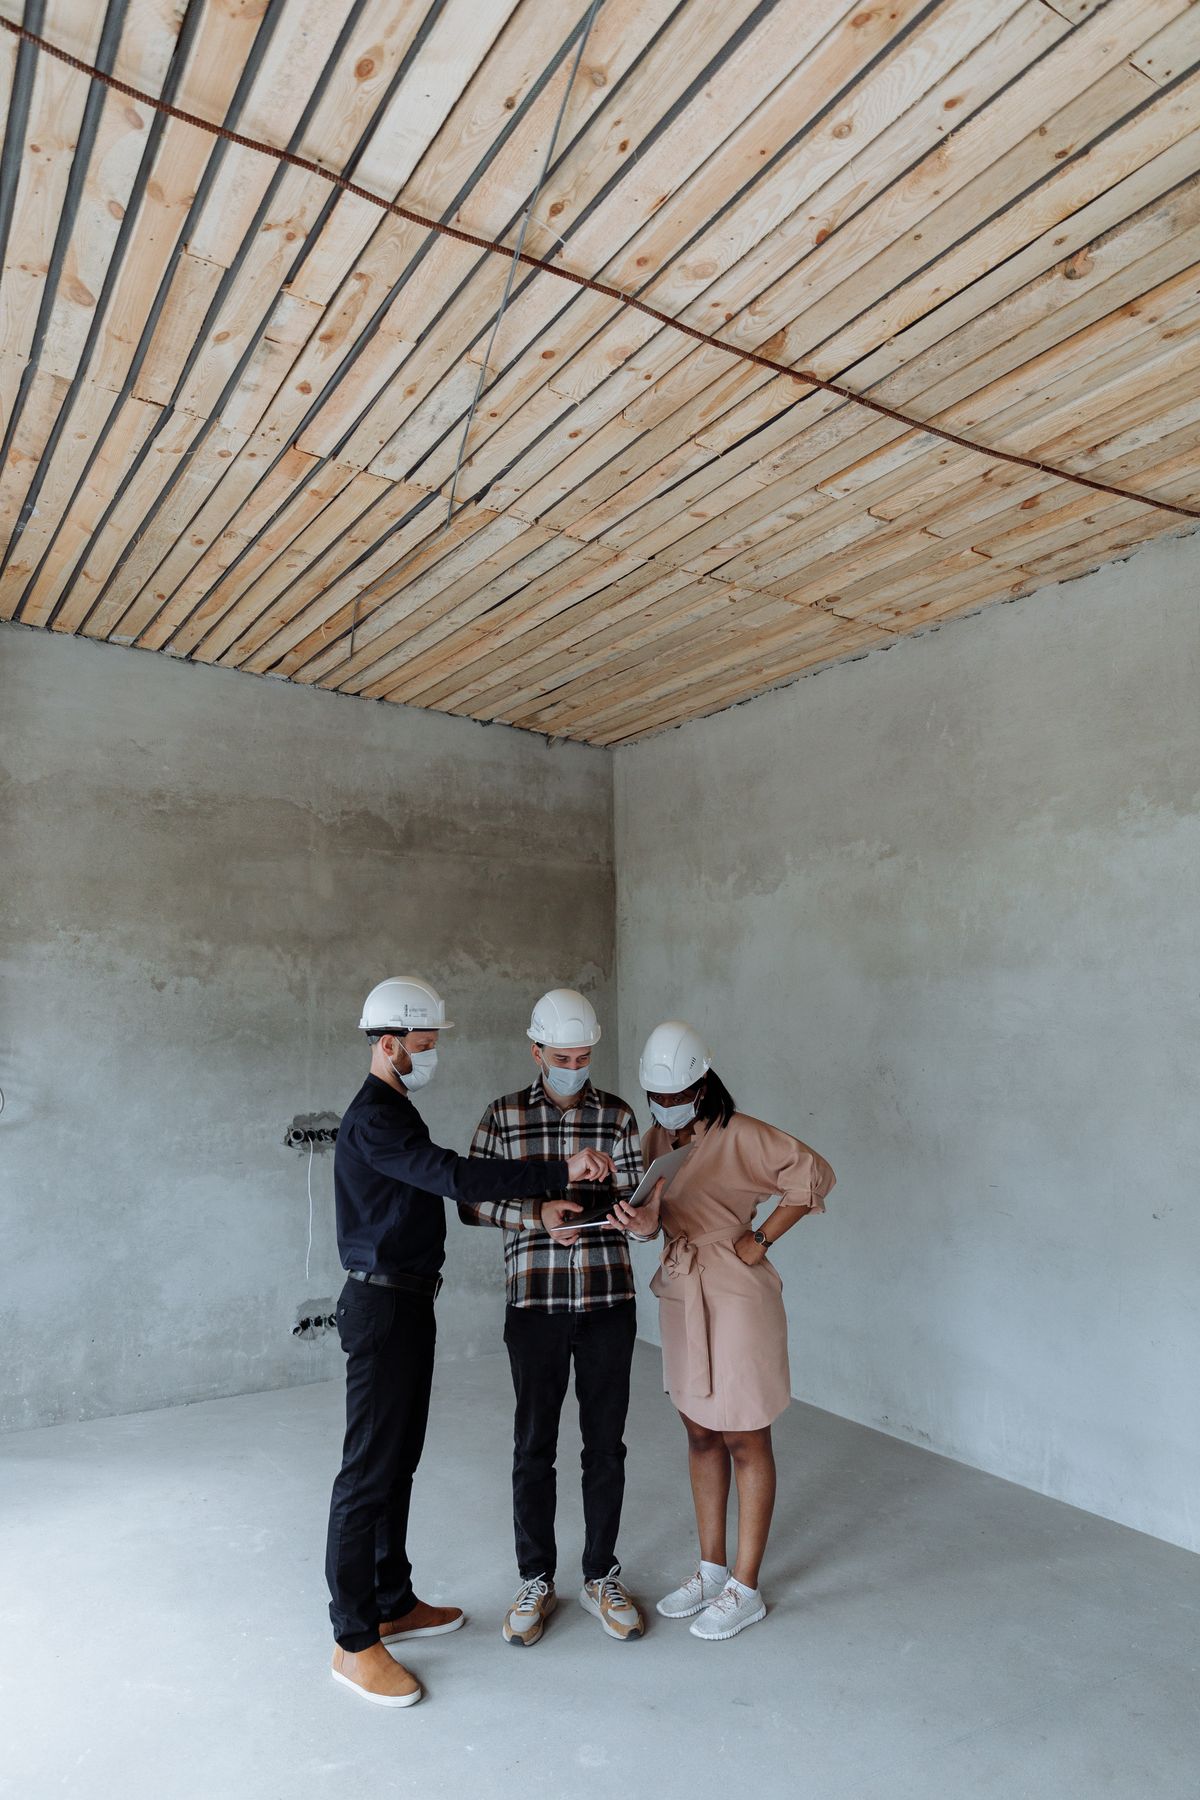
Illustrative stock photograph · Thirdman / Pexels · not a Civion customer portrait.
Built for the trade. By the trade.
A shared picture. From office to site.
Bring the instructions, progress and commercial detail into one company workspace. Give the team and client a clearer place to revisit the information shared with them.
Two existing takeoff lessons, with captions and transcripts. A spoken brand opener is followed by captioned instruction.
05 · Measure a drawing
Read the lesson transcript
Measure a drawing with Takeoff Upload a drawing, calibrate a known dimension and save room measurements.
Use the correct drawing revision and check its dimensions. The fictional kitchen is 6 metres by 4 metres.
Name the drawing and assign the correct job. This PNG is a demonstration plan; PDF drawings are also supported.
Always calibrate before measuring lengths or areas. Use a dimension that is clearly stated on the drawing.
The selected reference line represents 6 metres. Enter metres here, even though the drawing labels it as 6000 mm.
Room measurement saves floor area, perimeter and internal wall area. Trace the internal room boundary, not the outside of the walls.
Enter the internal wall height: 2.4 metres in this example. Wall area here is perimeter × height, before any openings are deducted.
Check the saved results against the drawing dimensions. 6 × 4 = 24 m² floor; 2 × (6 + 4) = 20 m perimeter.
At 2.4 m high, the gross internal wall area is 48 m². Review openings, deductions and waste separately for the priced work.
Recap: upload the right revision, calibrate, trace and check. The next lesson links saved measurements to quote quantities.
06 · Apply quantities to your quote
Read the lesson transcript
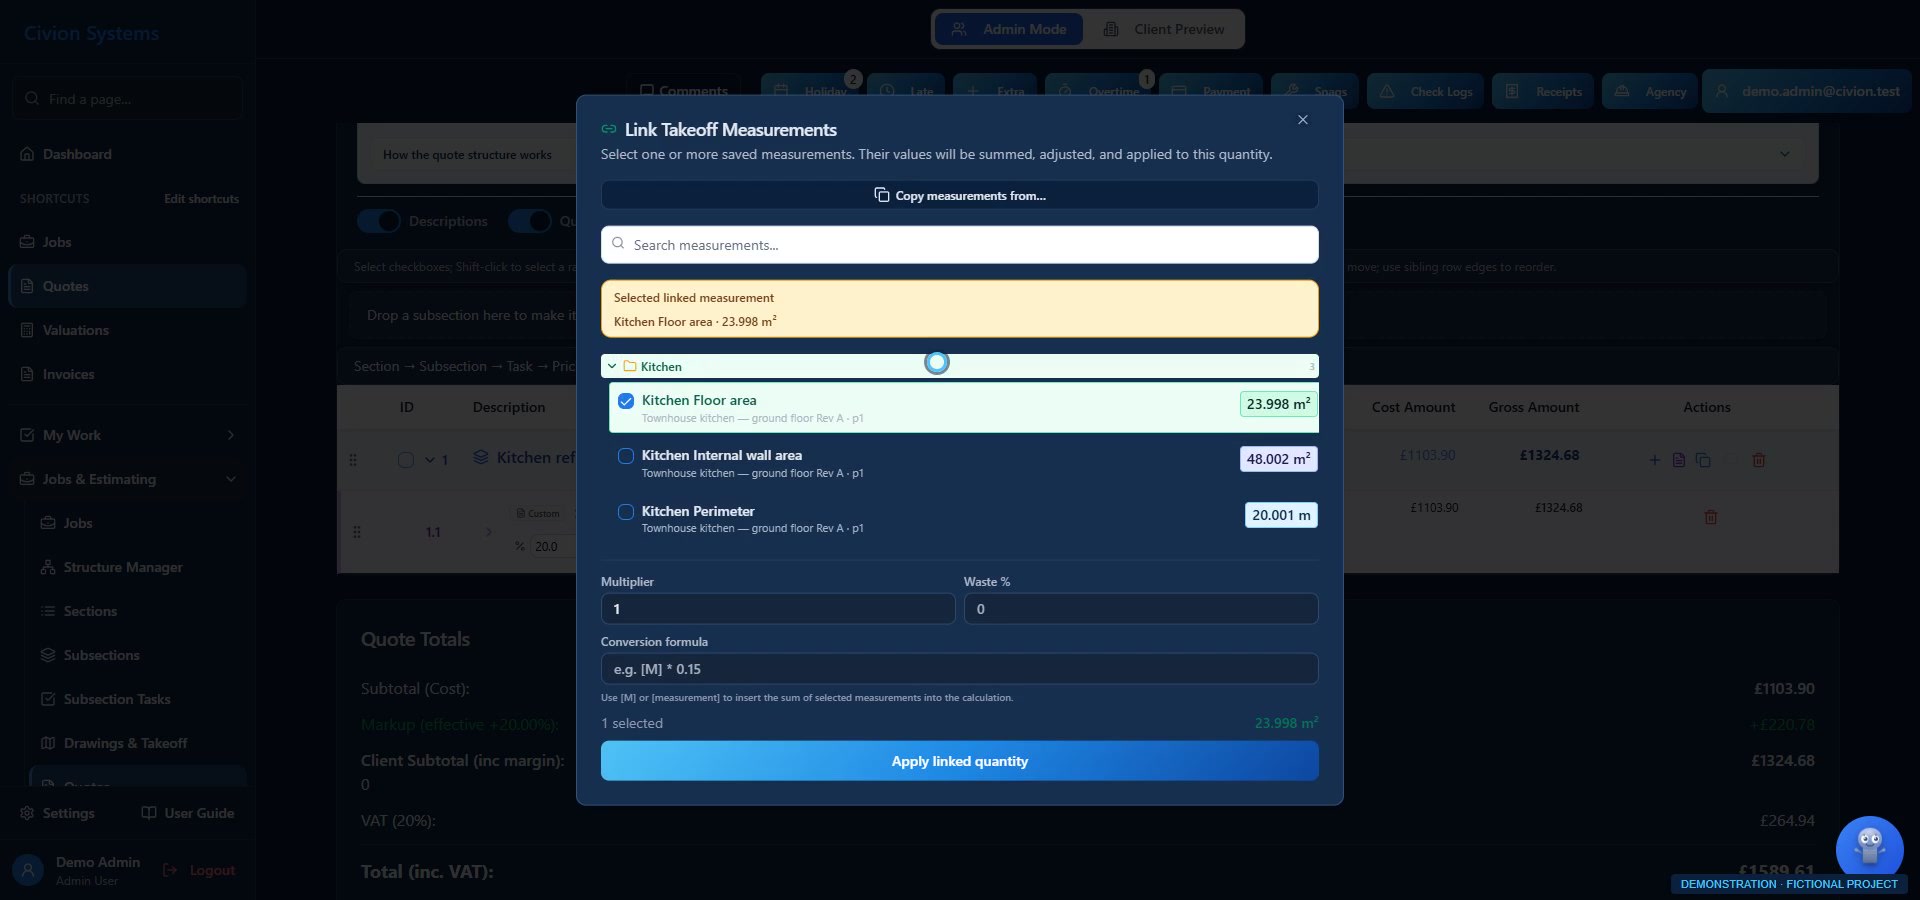
Link Takeoff measurements to quote quantities Use the saved kitchen floor area as the quantity source for a priced line.
The drawing and draft quote must belong to the same job. Check the drawing revision, scale, measurement and unit before linking.
Select the measurement that represents this work. Floor area is in square metres; perimeter is a different quantity.
Keep the multiplier at 1 when the measured unit matches the priced unit. Avoid mixing lengths, areas and counts in the same quantity.
The draft line now takes its quantity from the saved measurement. Review the resulting quantity and price before sharing the quote.
Reopening the link shows the saved source and calculation. Waste is a pricing allowance; it does not change the measured room size.
This example adds 5% waste: about 24 m² × 1.05 = 25.2 m². Apply an allowance only when it is appropriate for the work and pricing basis.
Review the quote after a linked quantity changes. A revised drawing or measurement can also require review before publishing.
Recap: match the job and units, link the correct source and verify the result. Keep measured quantities, waste allowances and rates understandable.
This is an example journey, not a compulsory sequence. Activities may overlap. Approved changes can feed into valuations; plan permissions and company setup affect the available workflows.
Want to see it with your kind of work?
Use the tutorials during your trial. Personal onboarding is included once your company becomes a paying customer.